The expectations for the Machine-Tool Biennial were positive, and focused on industrial recovery. Technology was turned into business this week at the Bilbao Exhibition Centre, at an edition of the Biennial at which interesting business forums were featured and orders were secured in all the sectors involved. “The new challenge of Basque machine-tool sector is to adapt firmly to the revolution that comes from the hand of Industry 4.0,” confirms Jesús de la Maza, president of Innovalia Group.
“In Innovalia Metrology, we support more sustainable and efficient solutions through “smart” use of all the information generated during the product life-cycle and for us, in this sense, incorporating quality information is fundamental for our industrial recovery”.
The contribution of metrology to this new challenge becomes a key element in ensuring the quality the product as well as the entire production process; and in this sense, Innovalia Metrology wants to contribute to strengthen the supply of the Basque Industry 4.0, providing equipment and intelligent platforms aimed at making zero defects.
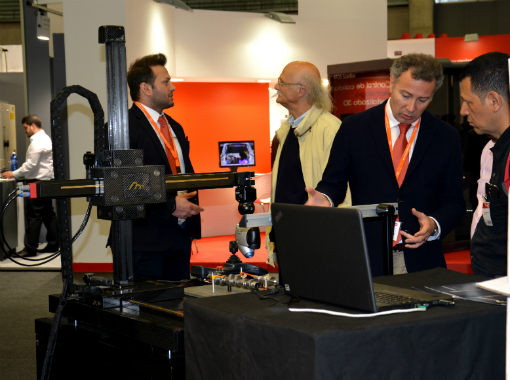
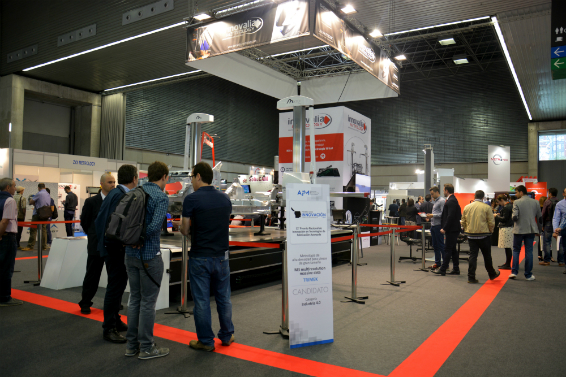
This contribution was amply  demonstrated due to the large number of people who visited the stand, demonstrating the interest generated by new solutions businesses focused on industrial recovery. As a candidate for the 2016 Innovation Awards in the categories of Machine Tools and the Integration of 4.0 concepts into advanced manufacturing systems, its new high tech machinery is based on a hybrid measurement system (M3 Hybrid). This technology combines the classical technique of touch probe measurements with the new high-tech Optiscan optical sensor.

The unique hybrid design allows the integration into any system for both laboratory and in-line manufacturing with high precision and speed. “What we get with this new method is a much higher speed and reliability when making a three-dimensional measurement. We get those difficult to access points through our touch sensor system and with the Optiscan optical sensor we are able to scan the rest of the piece”, says de la Maza.
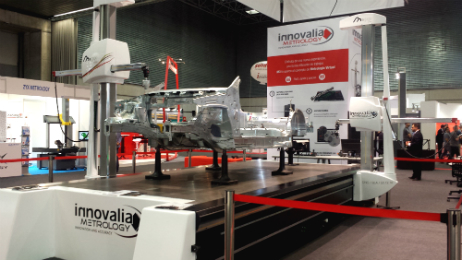
Its Duplex System machine formed by two horizontal arms, was the center of the fair. “We can measure the whole chassis of a car in times hitherto unthinkable. We guarantee a very significant reduction in the time of scanning, increased productivity and improved quality of data inspection“, explains de la Maza. “Through our M3 massive multiresolution data system, we can make high density measurements for large components that can create point clouds of over ten million points per measured piece”.
Definitely, M3 is an intuitive and customizable software, compatible with all components and 3D measuring devices and whose high precision has recently been approved by NIST (National Institute of Standards andive, Technology) and PTB (National Institute of German Metrology).


